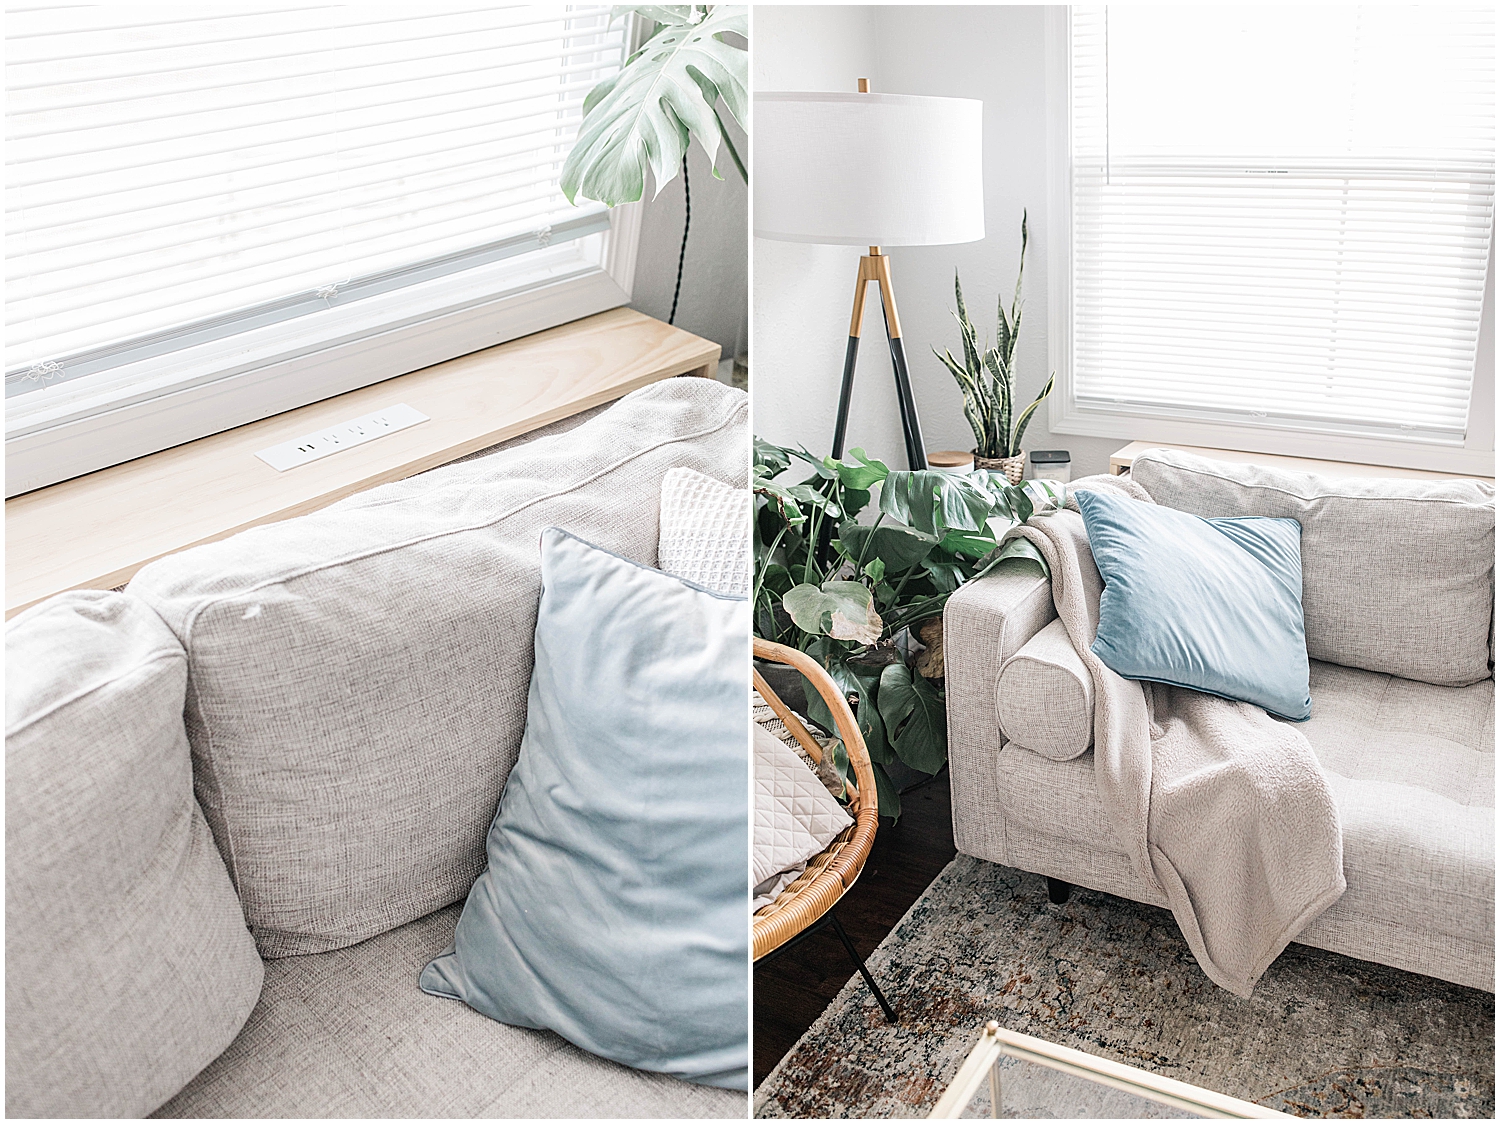
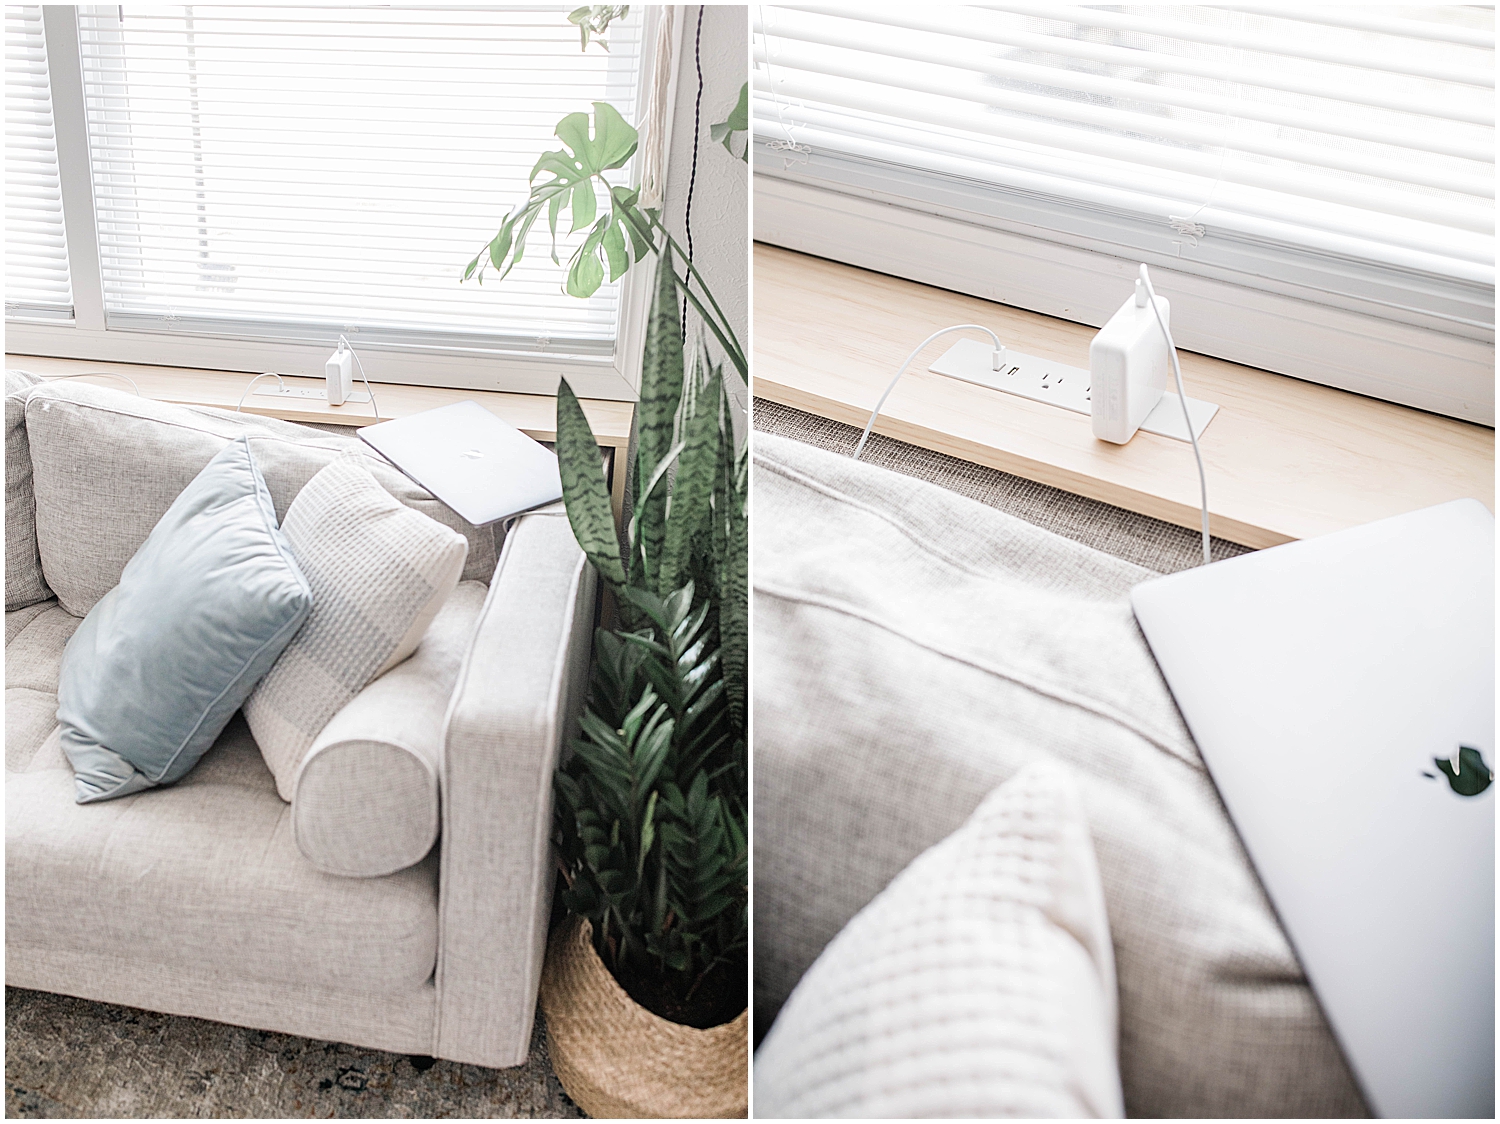
Often I find myself stopping my work so I can recharge my computer all the time. I do all my blogging and social media planning from my couch so this DIY Console Couch Table was the perfect fix to my problem. There isn’t a plug with easy access in this area. And, this table I made will give me 3 standard plugs and two USB ports. Plus, plenty of room for more plants!

What you need to create your own DIY Console Couch Table
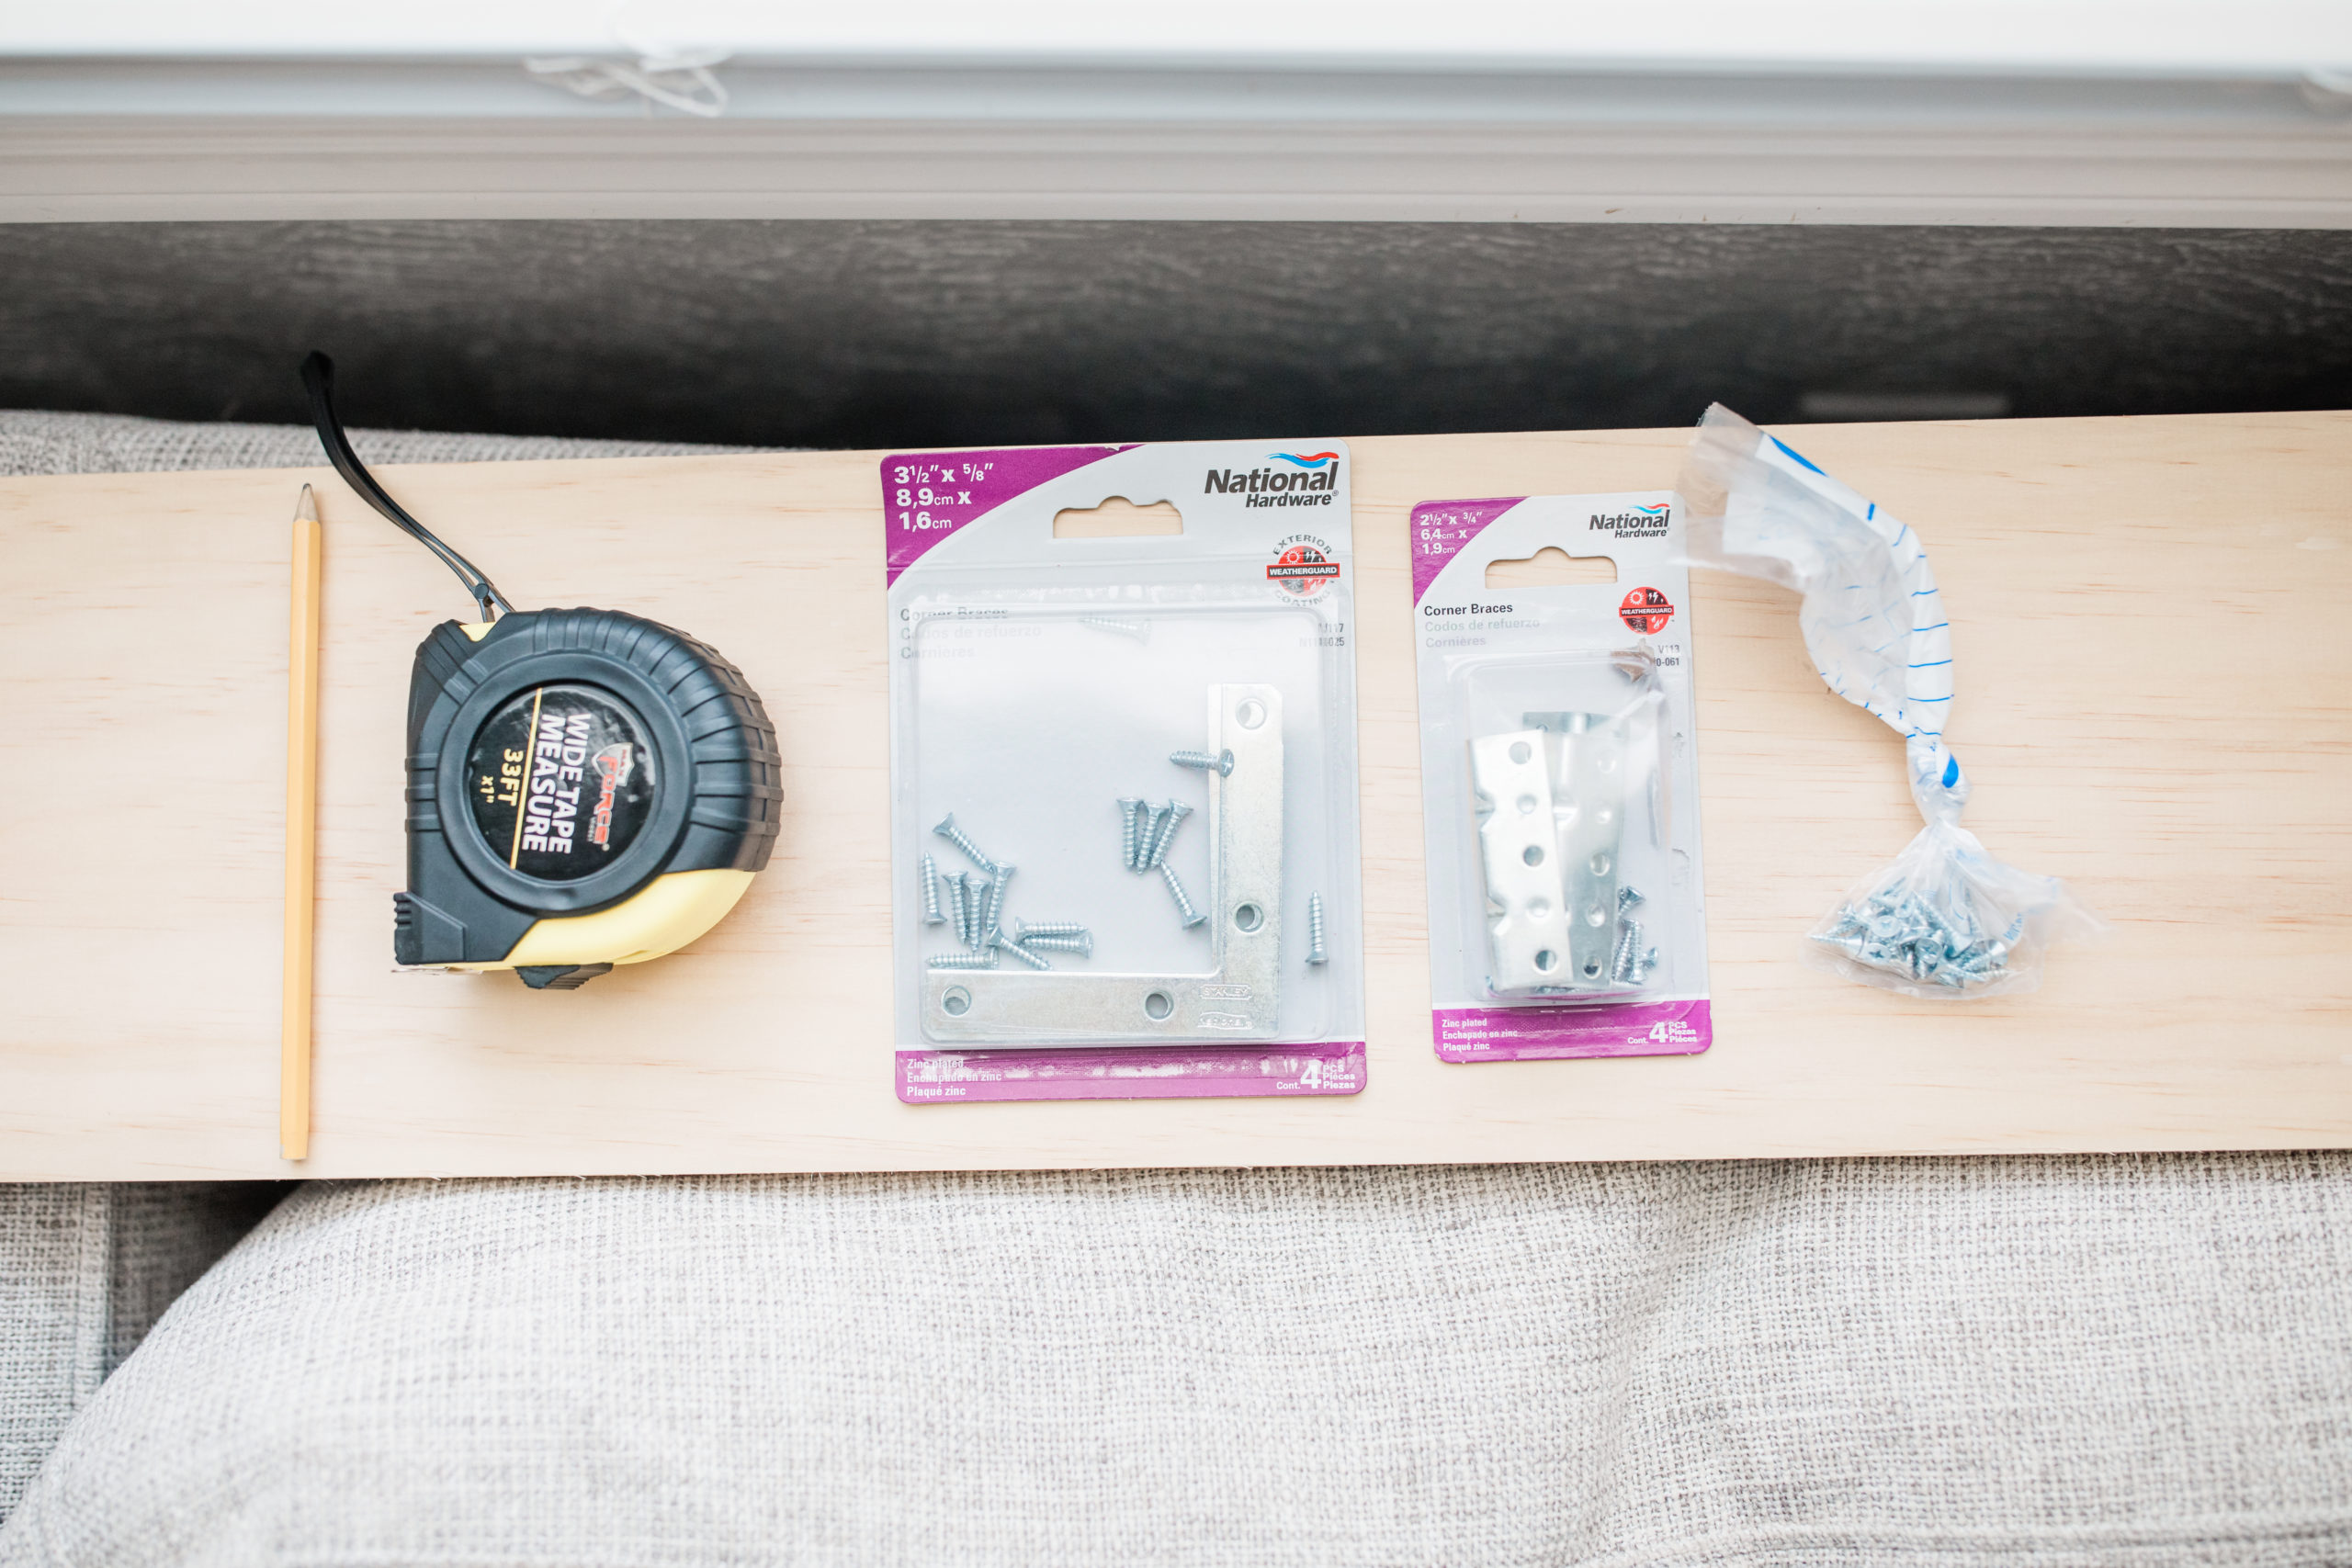
Material –
Building a console with outlets can be done in many ways. I usually take the easiest route – I am not a craftsman. So here is what I needed for my table.
- (1) – 1”x8”x12′ Pine – Grade 1 (No knots)
- Cut to (2) 28 inch and (1) 75 inch board
- (4) – Corner Braces (for under the boards, see below)
- (2) – Corner Braces (for the back, see below)
- (24) – 1/2inch Screws
- Wood Glue
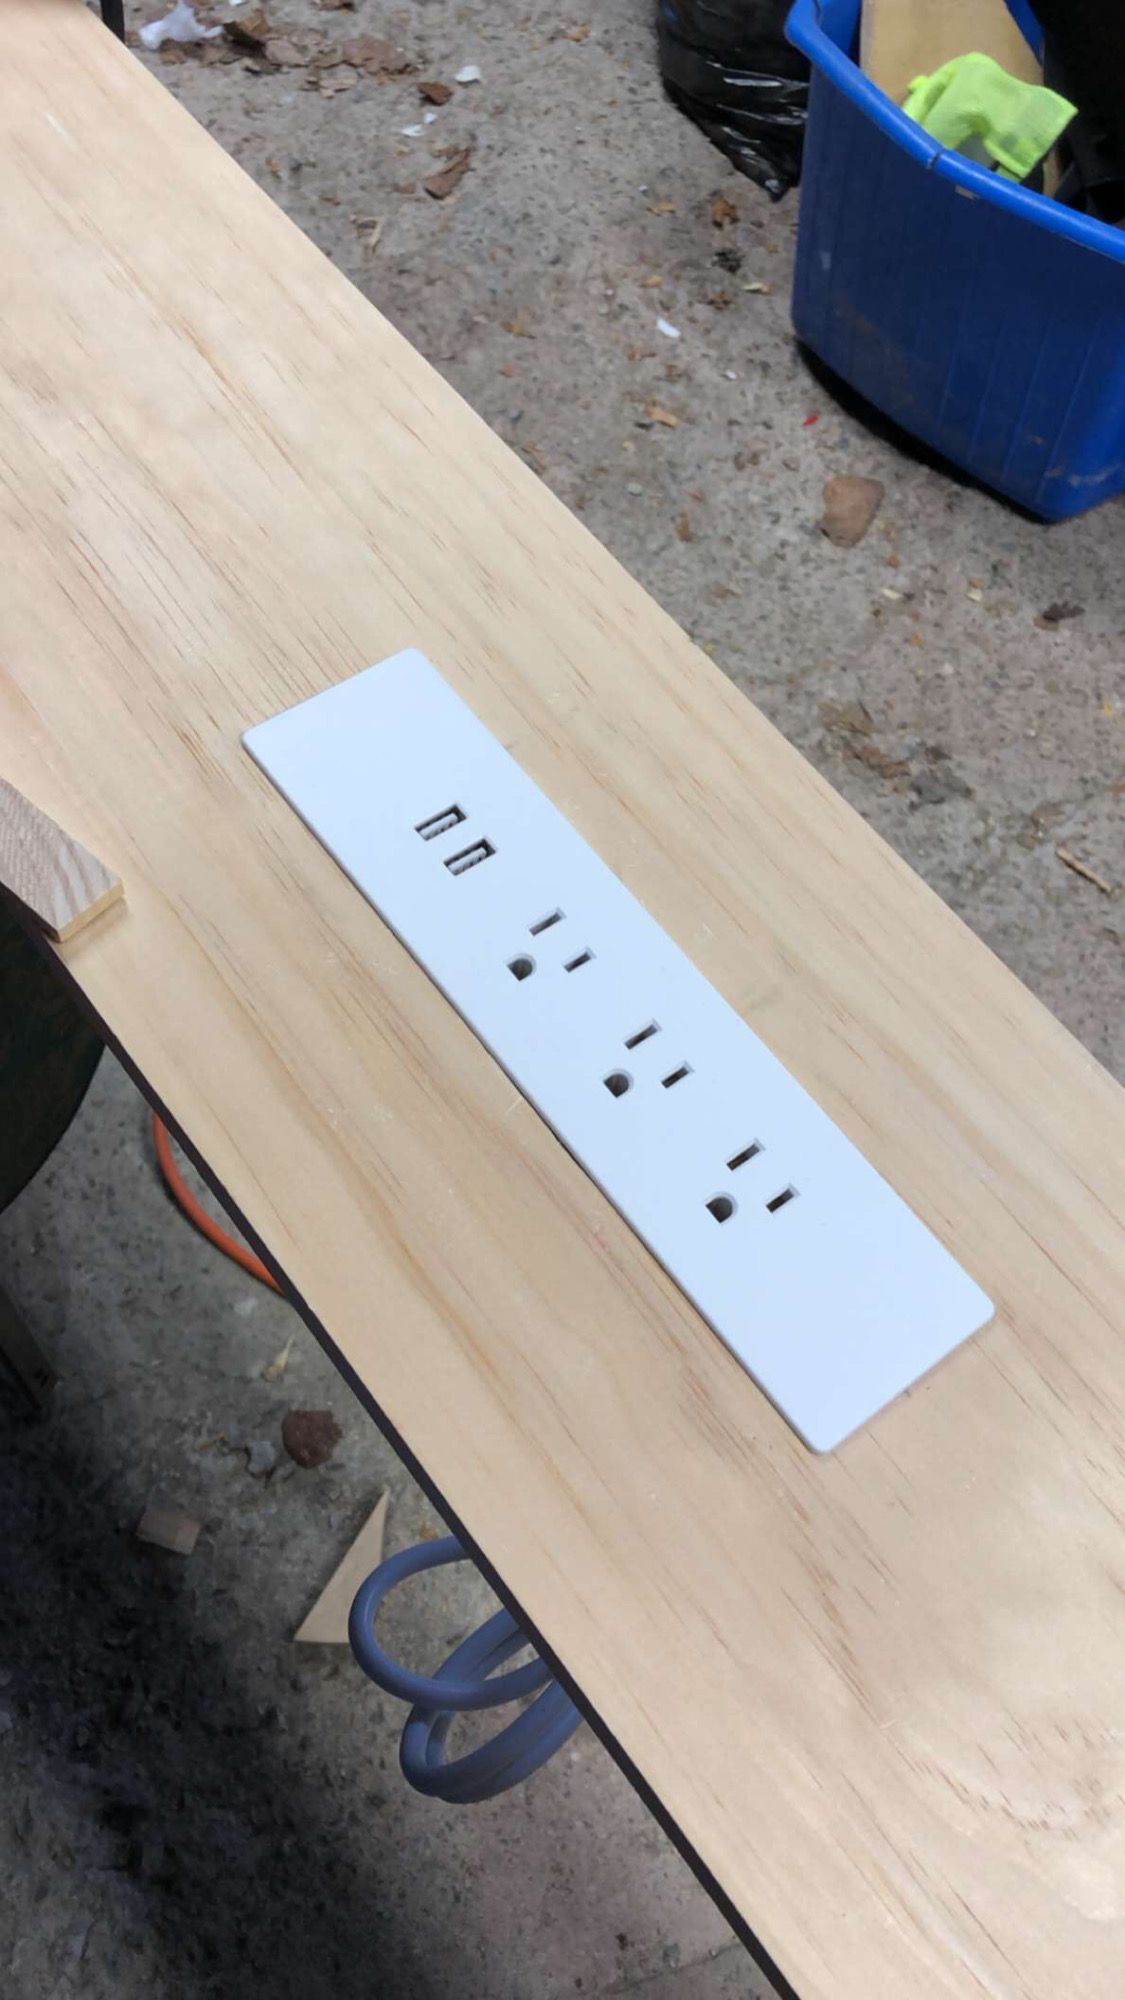
- Desk Outlet
Tools –
- Tape Measurer
- Pencil
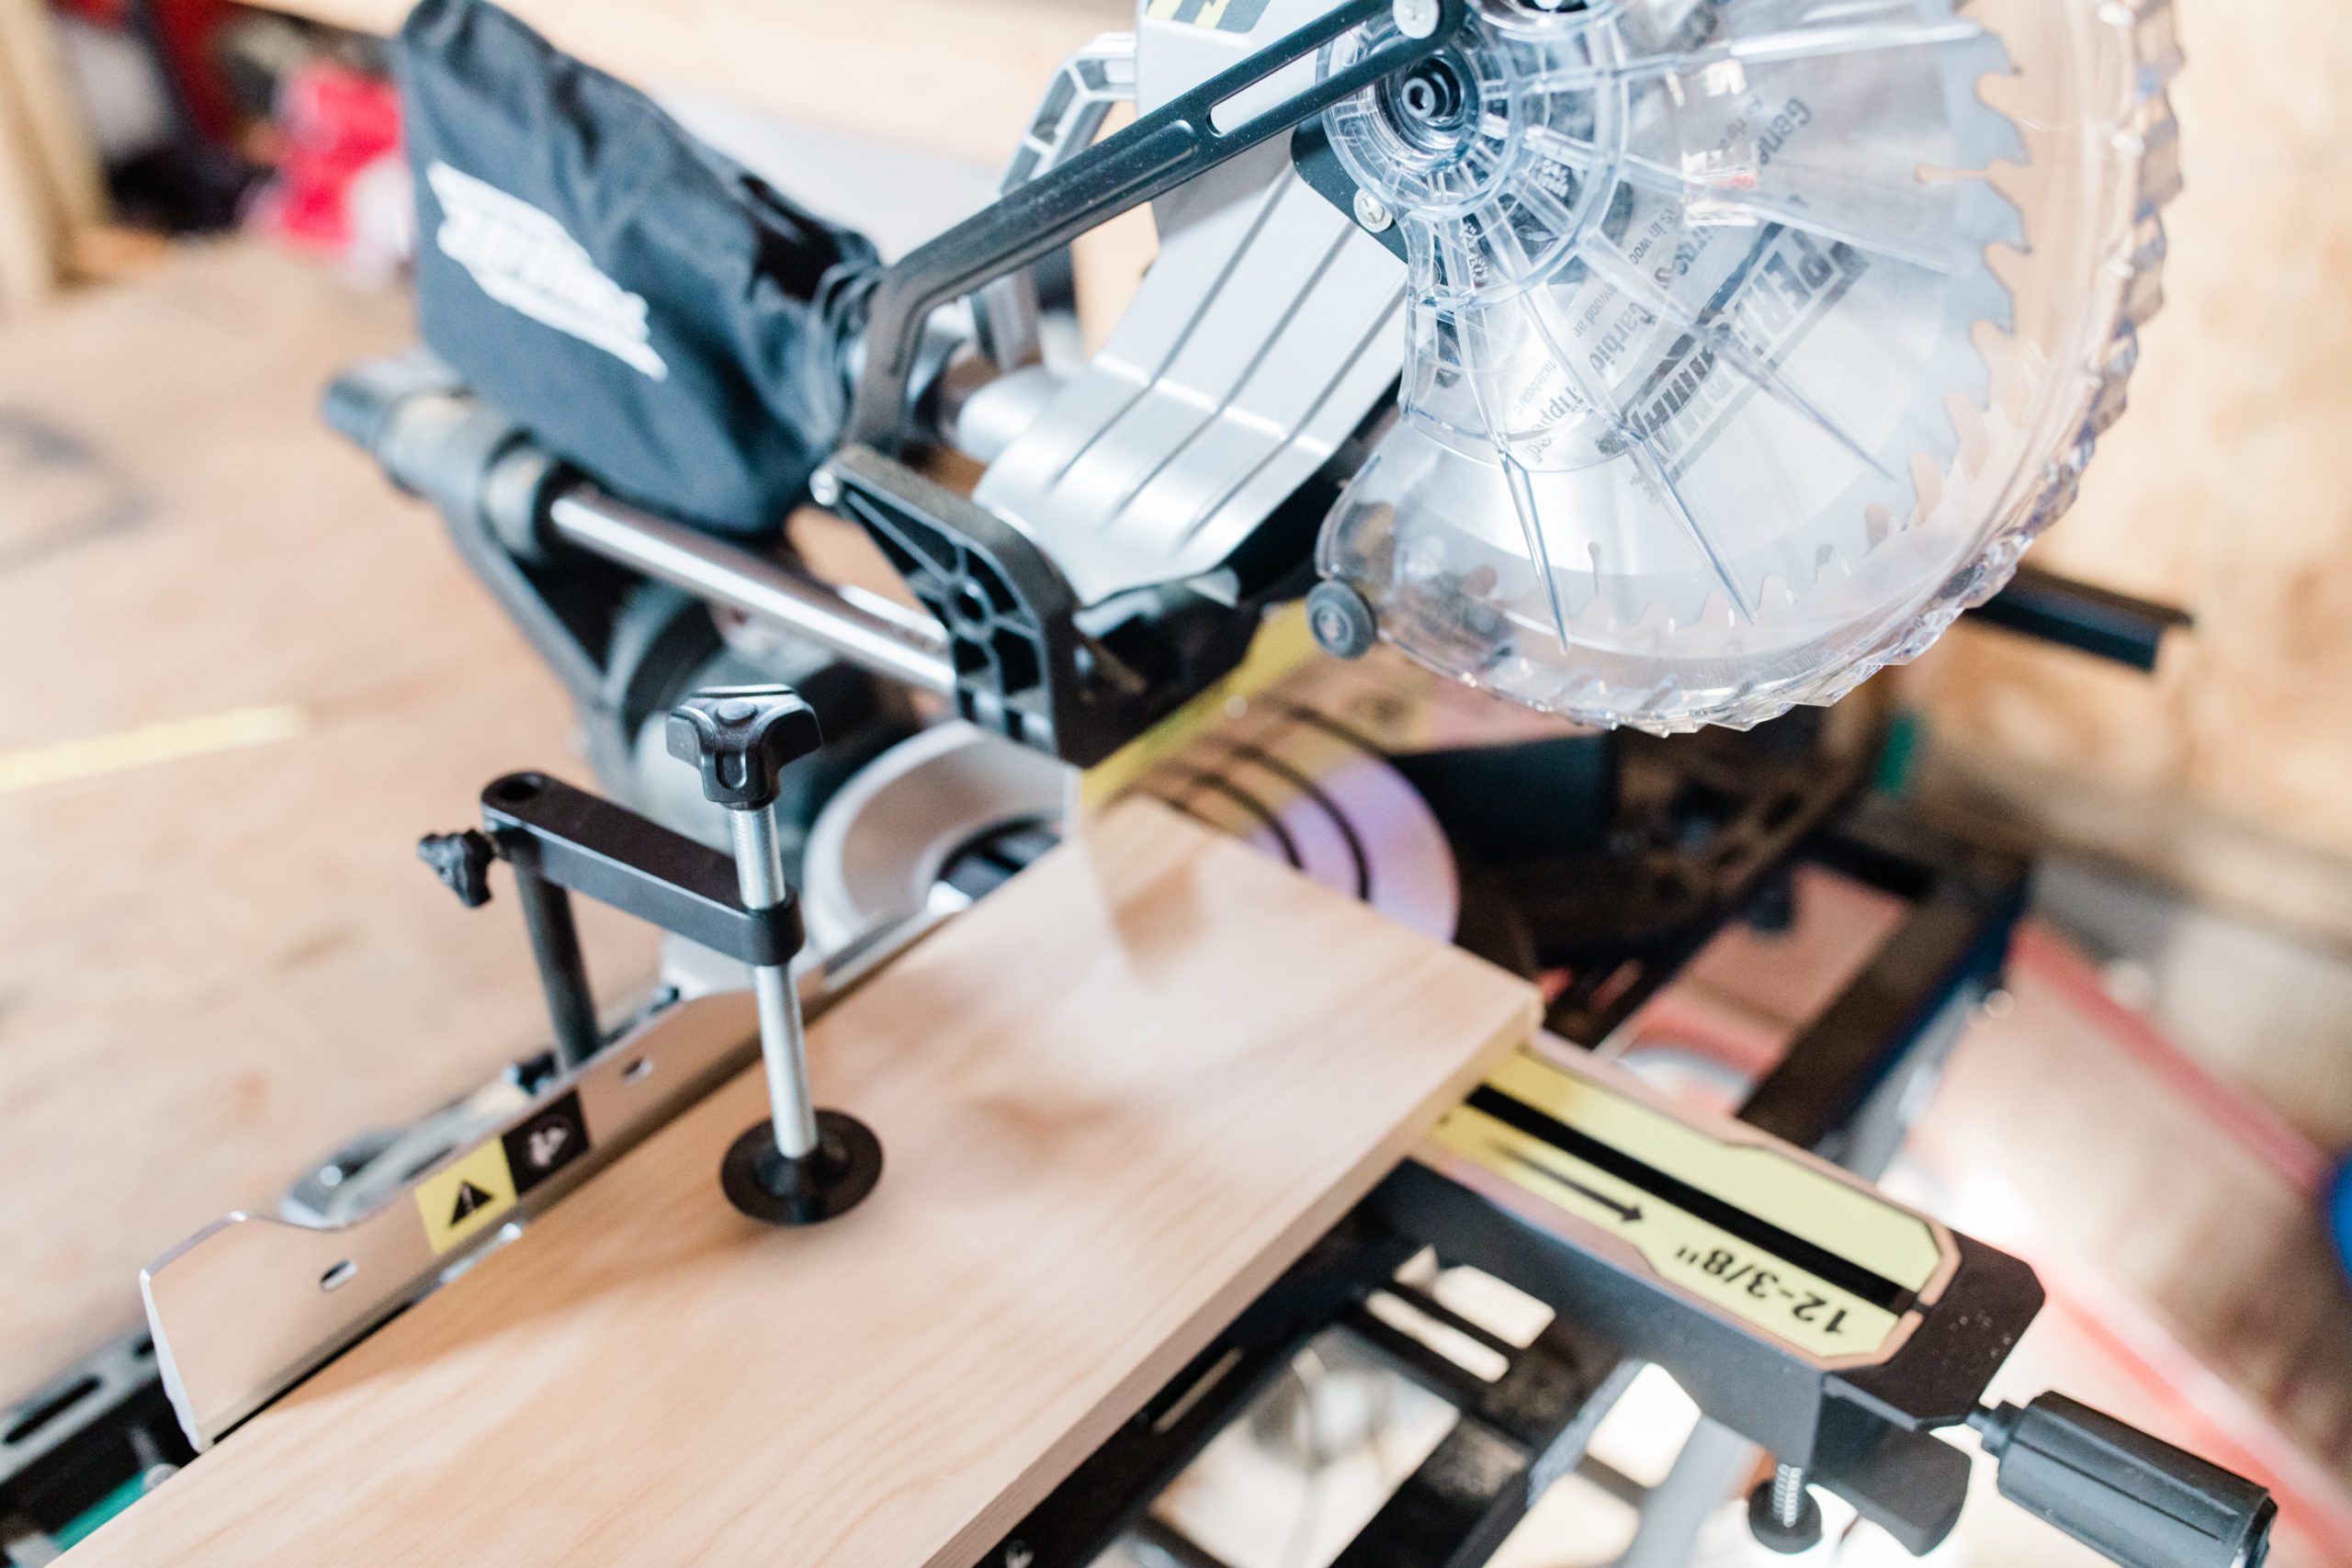
- Table Saw (Ask your lumber yard to cut if possible)
- Jigsaw
- Drill
Steps
One – Measure
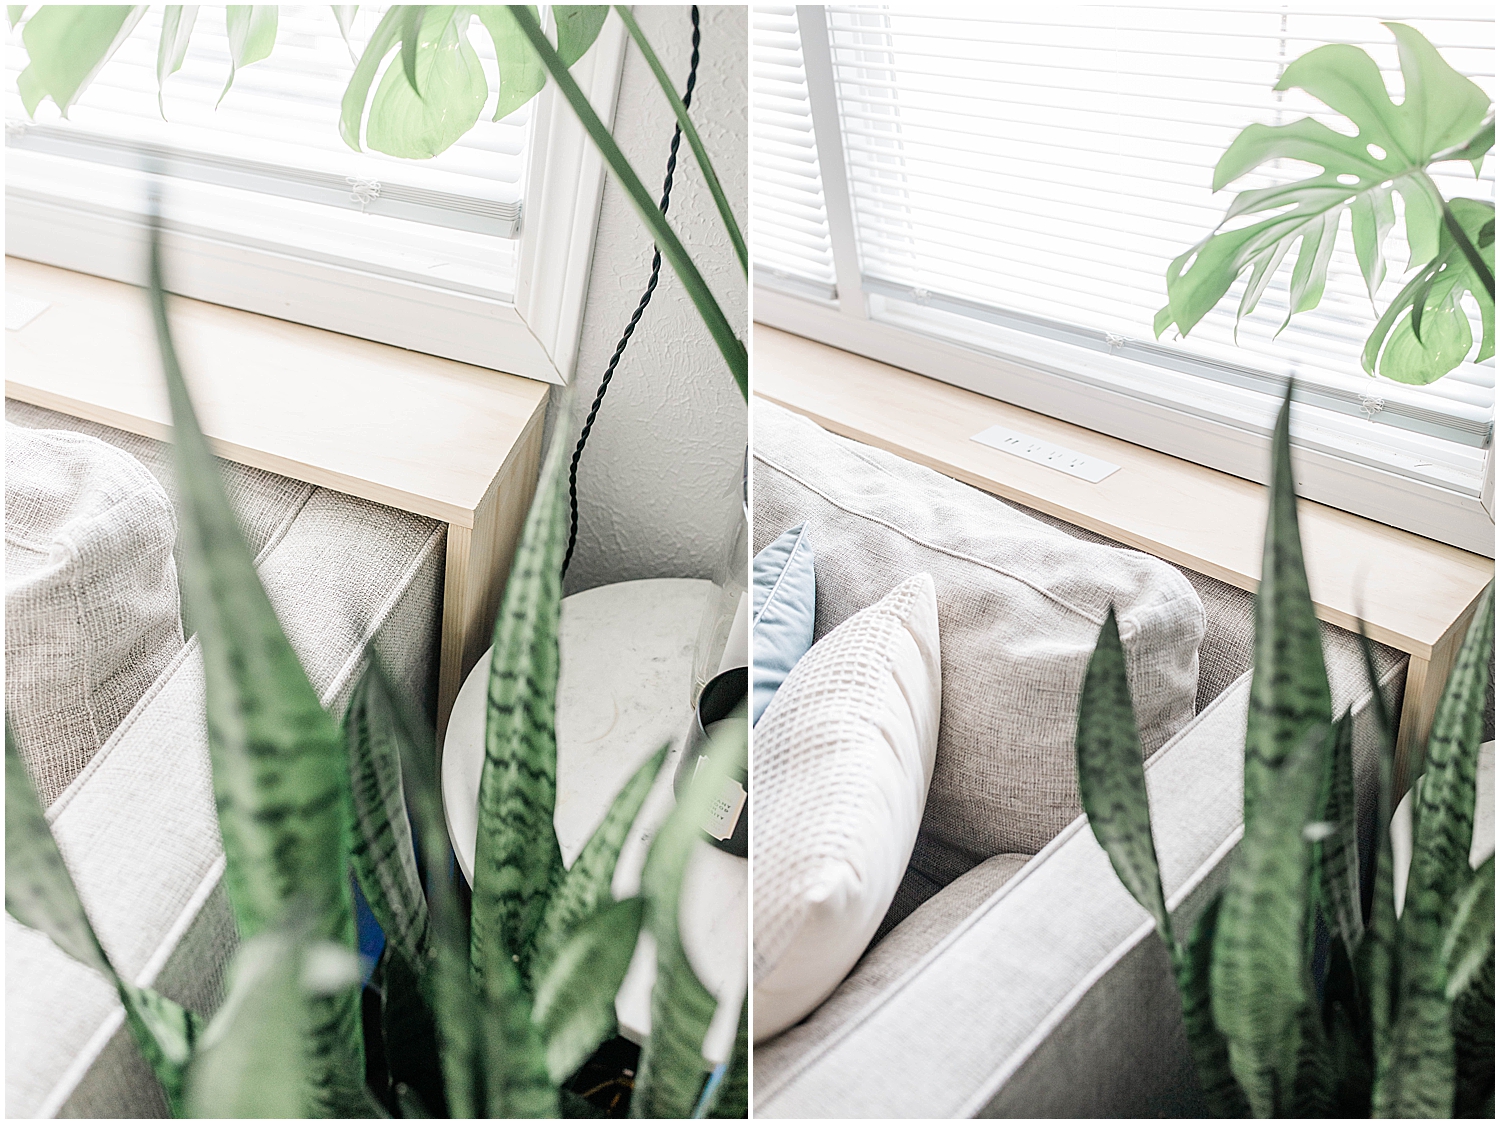
The first thing I did was measure around my couch. My couch has a square back that is perfect for this table to fit over my couch. You can make this table flush or sunken (to hide) to the couch but I didn’t want to lose any space and loved the look of it resting over. If you have a baseboard then you need to cut out the bottom of the “leg” if you want it to sit flush to the wall. Mine is 1×3 inches. You can use a contour gauge if you’re looking for precision but that’s not my style. A simple rectangle cut-out is good enough for me.
Two – Cut
I asked the lumber yard to cut my lumber to my desired lengths. This will help you skip a step and allows for the wood to fit into your vehicle better.
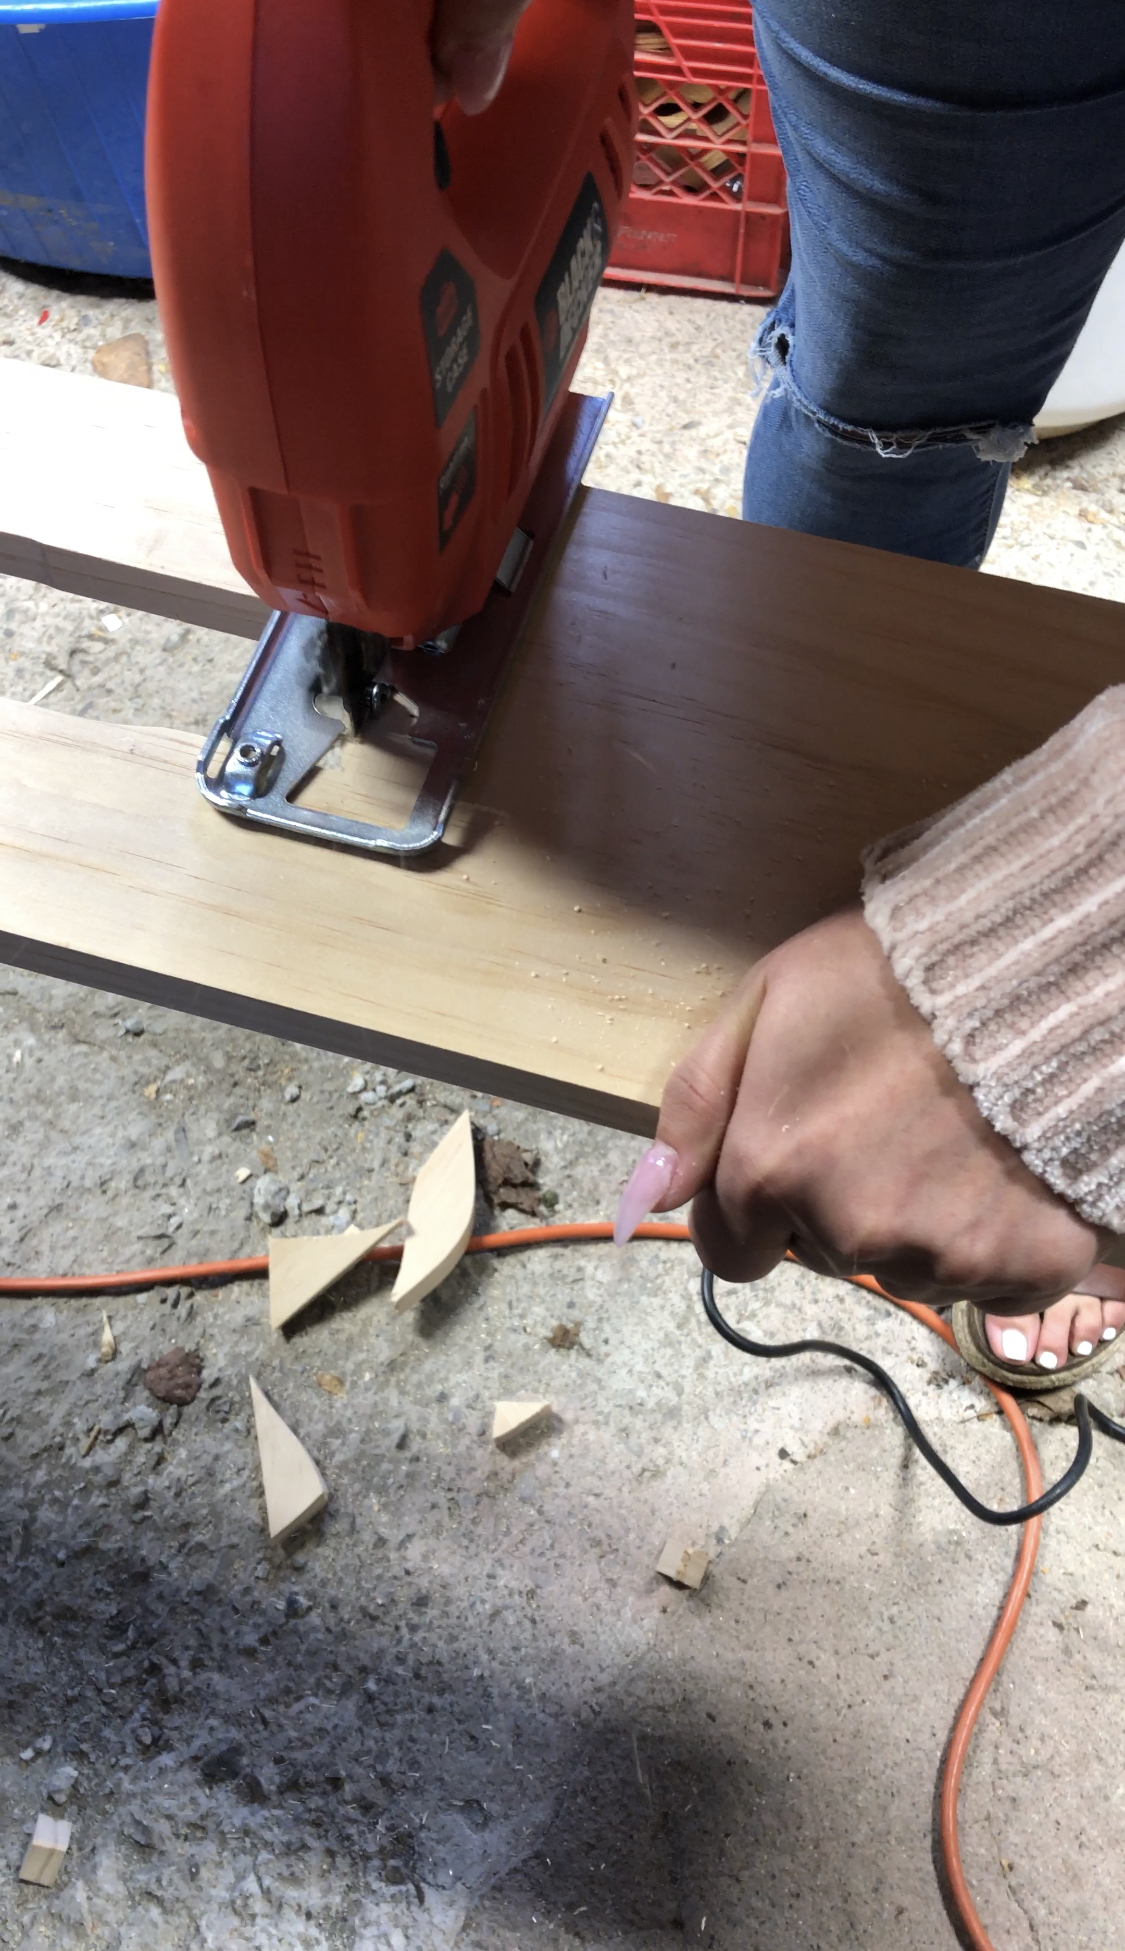
- Trace around your outlet in the desired location on the tabletop.
- Drill a hole into the guide so you can give your jigsaw a start.
- Use the jigsaw to then cut the cut out for the baseboard.
When you are cutting with a jigsaw you need to make sure that you are cutting on the inside of the pencil guide. This will ensure that your outlet doesn’t fall through the table. Cutting on the line or outside the line will be too big. *This step is specific to the outlet I bought.
Three – Stain
Stain and seal. I skipped this step. I love the natural wood look and even a sealant can change the color. If I change my mind, I can always come back because this is a seamless design there are no screws to work around.
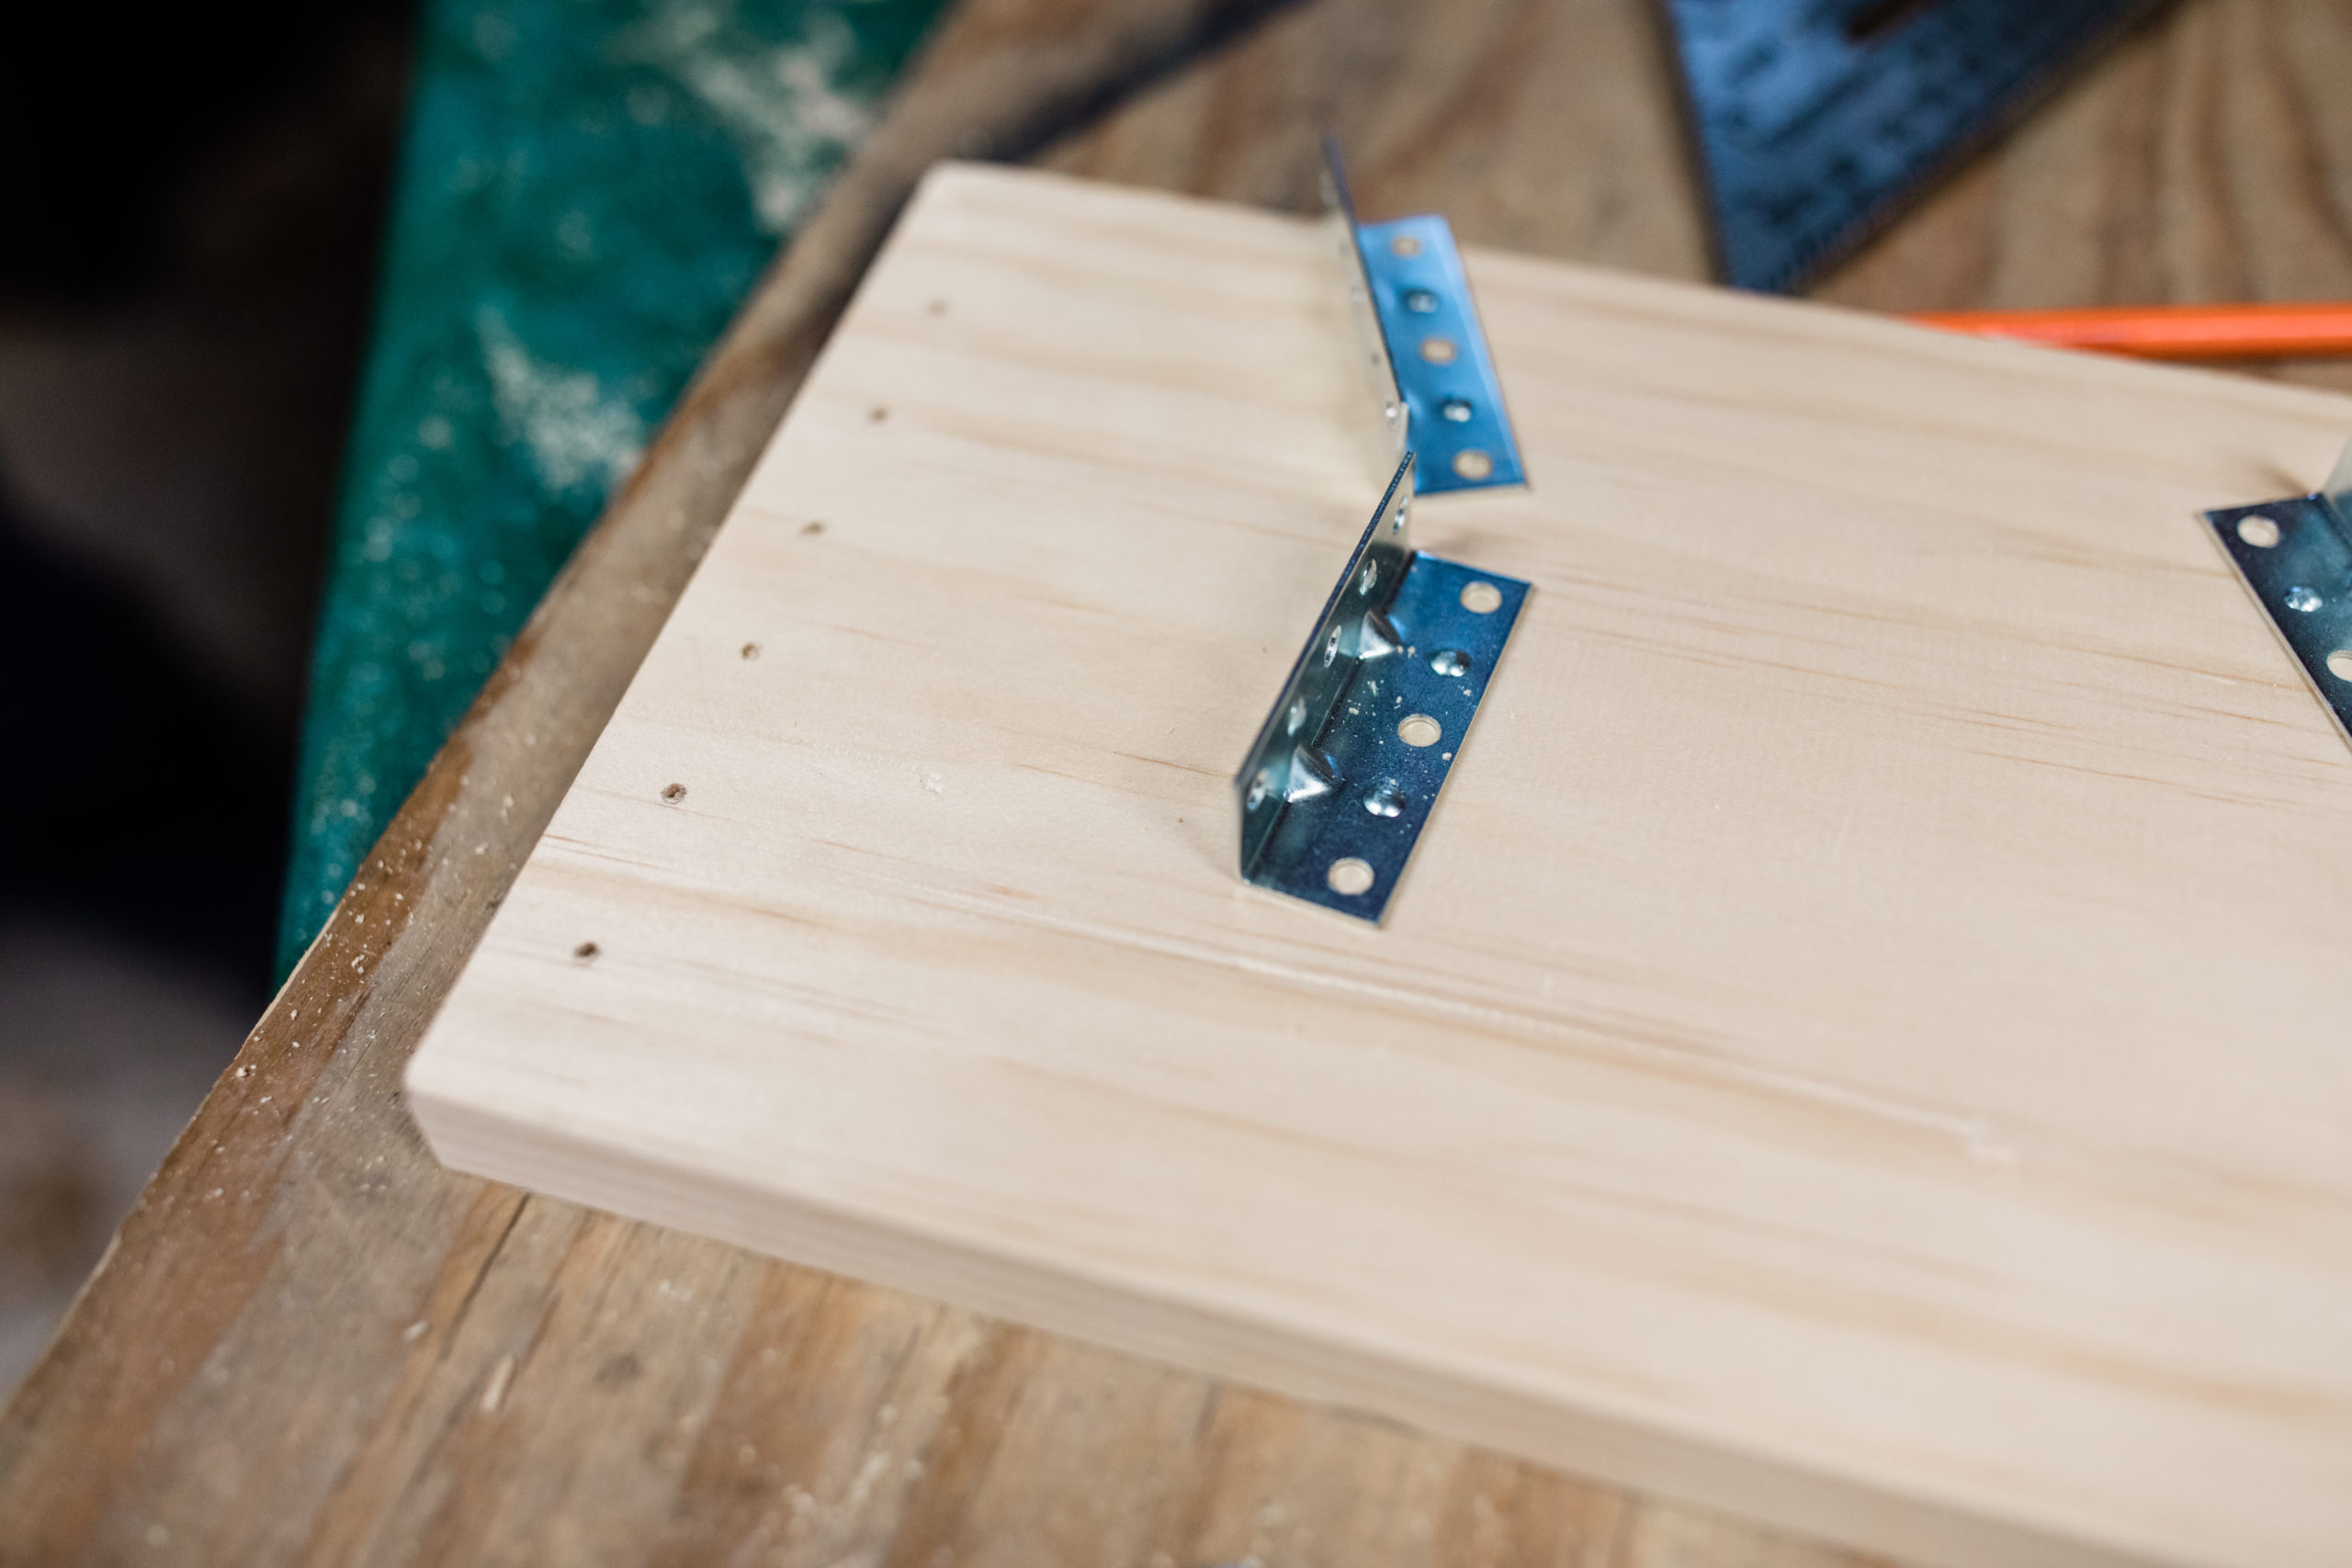
Four – Corner Brackets
- Set the corner brackets onto your 18-inch boards and mark with a pencil.
- Next, you’ll want to predrill your holes so your wood doesn’t split.
- Screw down the corner bracket.
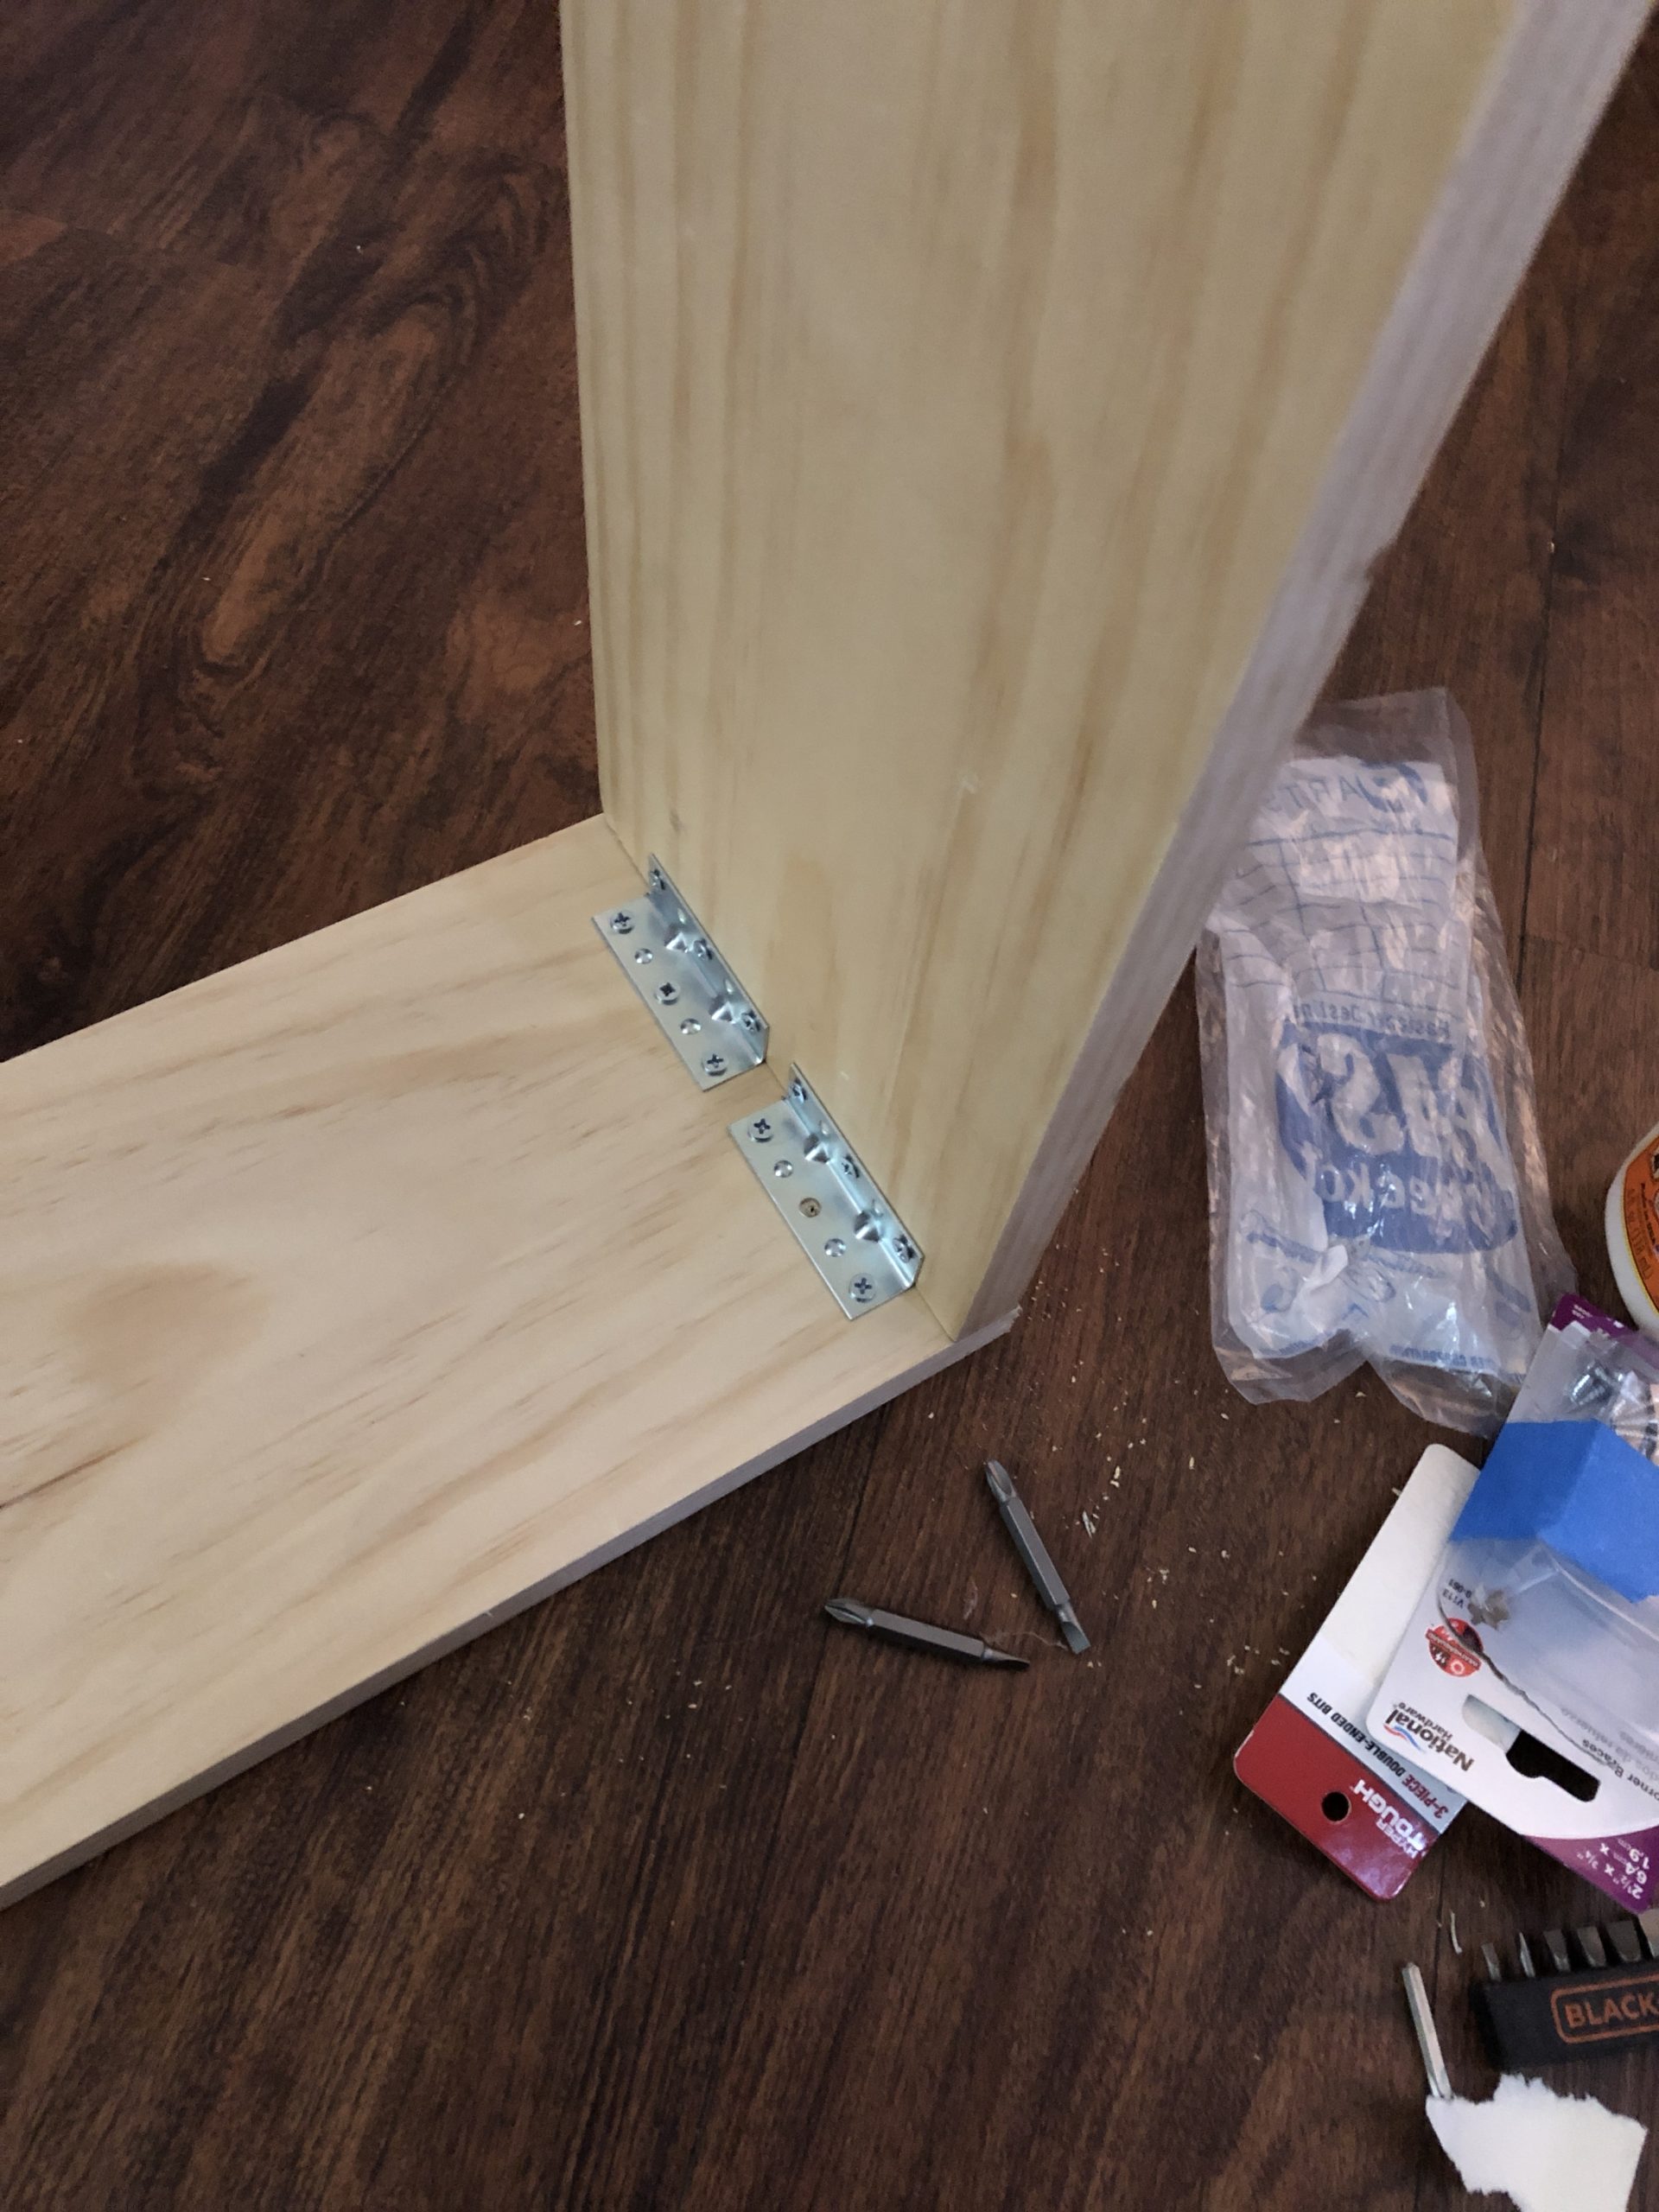
Five – Assemble
- Apply wood glue on the end of the 28-inch board.
- Then screw the tabletop to the side of the table with the corner bracket (Your tabletop should be upside down)
- Allow to dry (but I am impatient and didn’t)
Six – Stability Corner Bracket
Next, you can stand your table up and pre-drill then screw your other corner brackets on the back of the table. This step is perfect for tables that will be against the wall so you can’t see these. These corner brackets will help keep the table from rocking side to side.

Seven – Outlet Assembly
Lastly, plug in your outlet and sit into the hole. As of right now, I did not screw into the table or glue. The weight of it will keep it in place and I made it snug enough. The design I bought is seamless so my only option is to glue it into place. There are other choices like this here that have screw holes if that works better for you.
YOU’RE FINISHED!